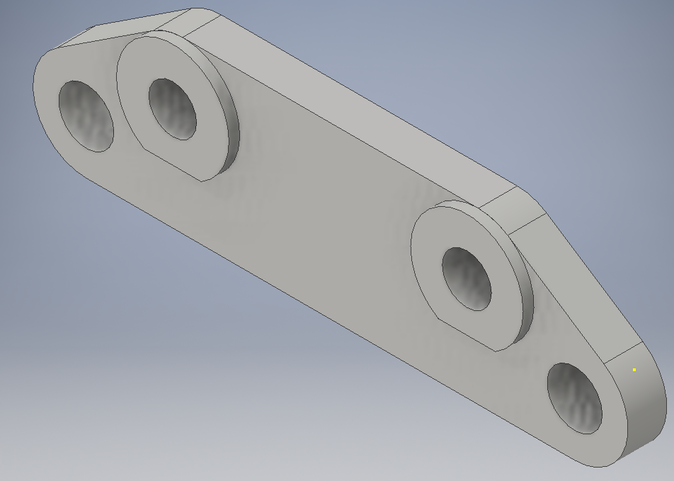
For our next unit in idea we used the cnc router and mill, the project that I had completed first was the cnc mill. For the mill, the class was instructed to make a brake bracket like on a car. We create the object by using Inventor, Fusion 360, and the mill itself. We were given blueprints within class which showed the instructions to create the brake bracket. I followed the instructions and after finishing the 2D drawings, I able to extrude it and have my brake bracket complete.
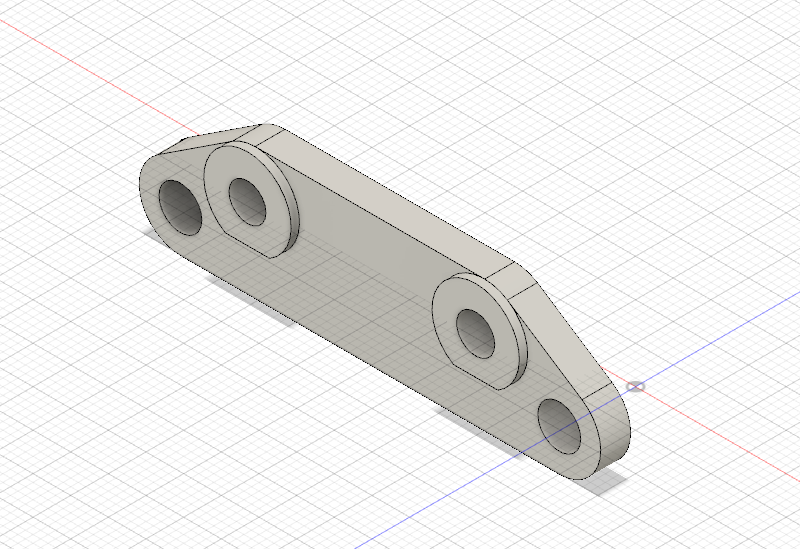
Now that my break bracket is finished on inventor, I can now upload it to Fusion 360 which is used for both the cnc router and mill.
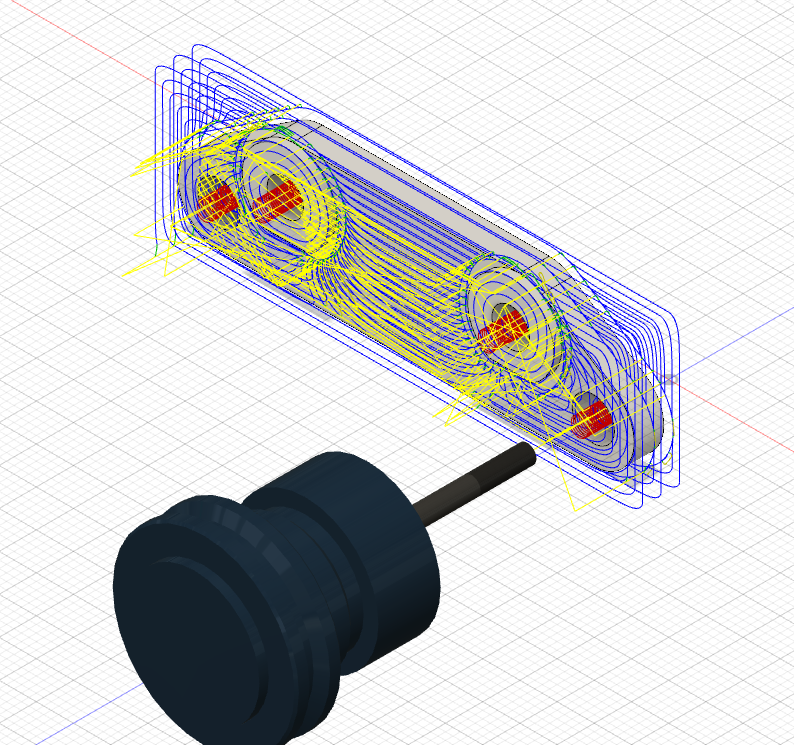
Once uploaded, I am now able to start the process of setting up the brake bracket on Fusion 360 by using multiple different assets. I set the appropriate stock, along with the tool path and other essentials to prepare my brake bracket for the mill.
Now that my brake bracket is fully complete on fusion 360, I now save the file onto my flash-drive as a G code file and plug it in to the mill. I copy the file to the mill, arrange the spindle to the proper area, and begin.
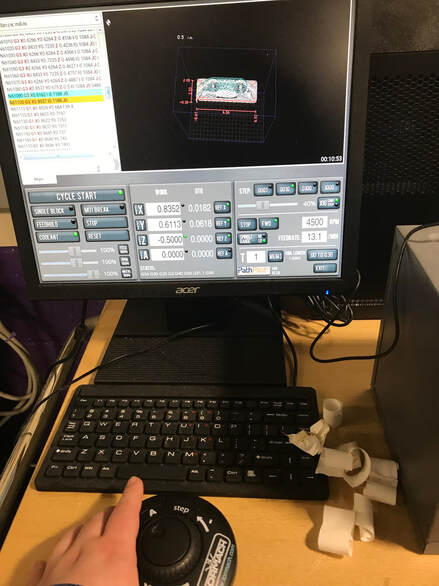
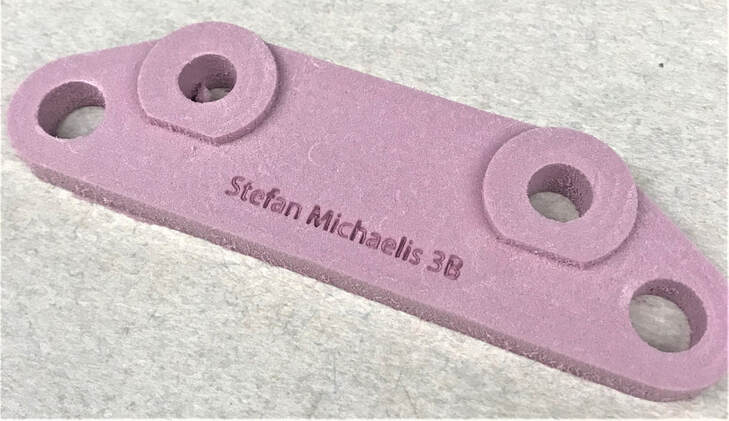
The brake bracket took about 14 minuets, and once it was finish I then created my Illustrator file which had my name with thin blue lines that are used when laser engraving foam. Using that file, I laser engraved my name into my brake bracket and was left with the final product.
Something I learned during this segment in Idea was how to use the cnc mill. From my prospective this was one of the easier machines to use because the process of setting it up was not as difficult. Something else I learned was how to use fusion 360, and all of the requirements needed in setting up the object for the cnc mill. Other than the multiple struggles I had with fusion 360 I enjoyed creating the brake bracket.
