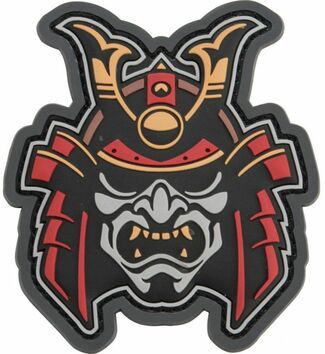
The second individual project for me was the vinyl cutter project. For this project, we had to make a decal which could be put on whatever we wanted it to be put on. This would require the decal to be the proper size in accordance to what we are putting it on. I thought that it would be a good idea to make a decal to put on one of my martial arts swords as a way to fulfill my passion for martial arts. The design that I chose to go off of was a cartoon like version of a classic Samurai helmet. The Image below, that was found on the internet, is the one I would be making my decal from.
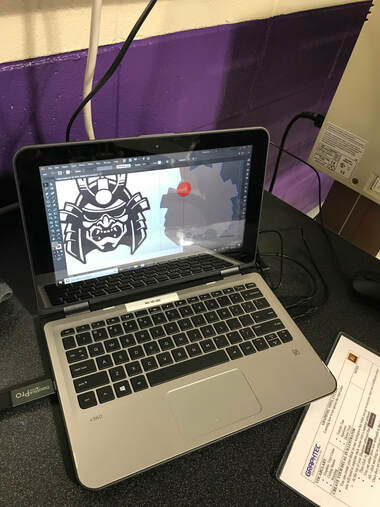
The first step was to copy the image over to Illustrator and use image trace making only three colors present in the Image, so there would be three layers to the decal.

Now That my image was the proper coloring, I could now expand it to get the three separate layers which would be used for the vinyl cutter. So I then saved the file onto my flash drive and plugged the flash drive into the vinyl cutter and pulled up the file in preparation to be cut.
|
|
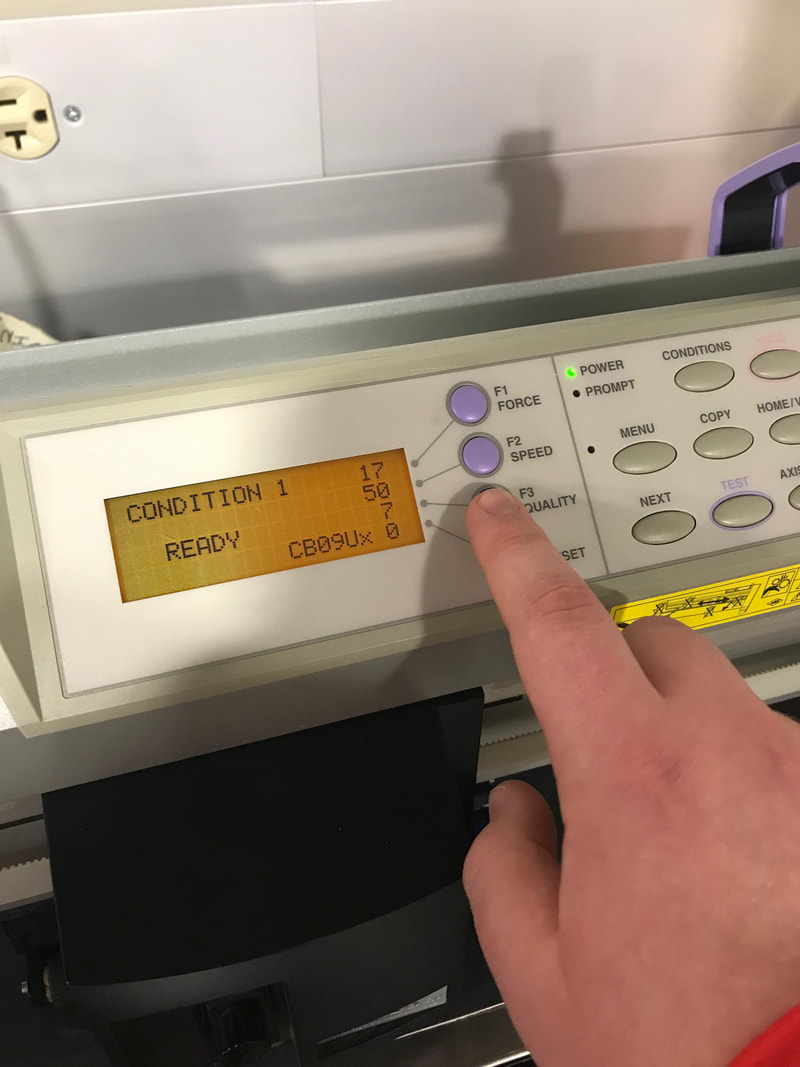
With the file connected to the vinyl cutter, I was now able to start cutting. One by one, I cut out each layer.
|
|
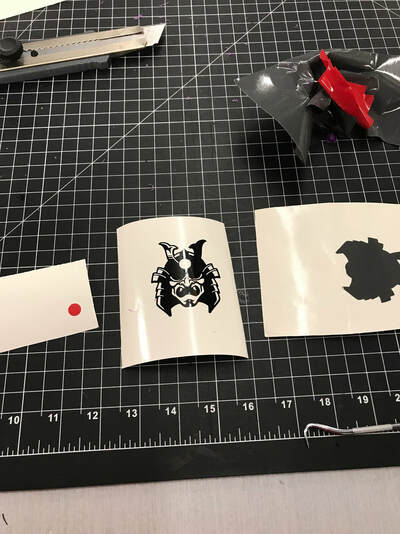
Now that I had finished the cutting I peeled out my project and weeded out any unneeded vinyl. Then I applied transfer tape to each of the layers and put them together with one big piece of transfer tape over the project so it could be taken home and applied to my sword.
|
|
Once I arrived home I took my project and applied it to my sword, adding some extra beauty to it.
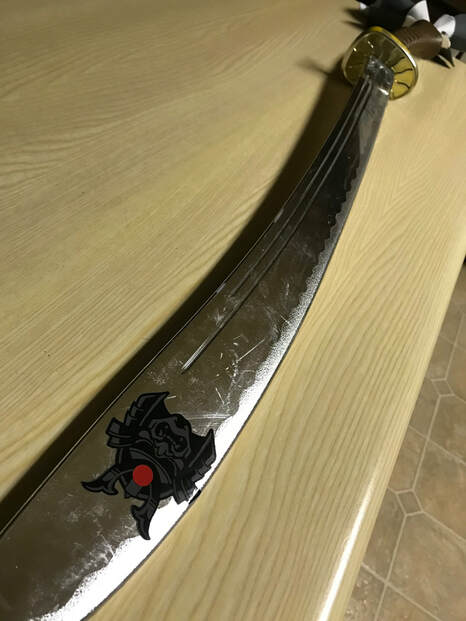
Overall I enjoyed the unit a lot, I was able to learn how to use the vinyl cutter independently. Although I felt like the 3D printing unit went much smoother, I felt like there were still some restrictions, but with the vinyl project I was free to create whatever I wanted and place it on anything. I chose to place it on my martial arts sword which added a cool aspect to it along with having the project turn out just like I wanted it to.
