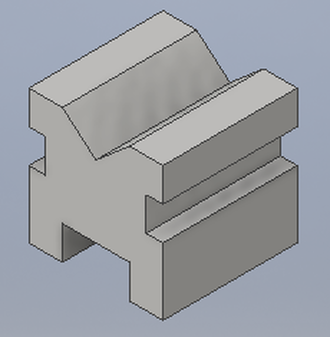
For the first unit in Idea, the end goal was to turn my widget drawing into a 3D version using the inventor app. Inventor is an app that allows you to create something digitally which is suitable for 3D printing. The process begins with creating a 2D image using tools such as line segments, then dimension tools to get the exact measurement that you need. After the 2D image is complete, tools such as extrude are used to make them 3D, and to remove unwanted segments.
The long process begins with creating drawings on a grid.

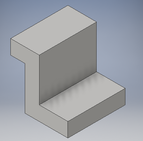
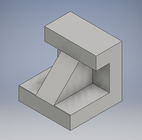
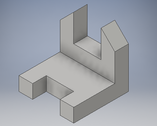
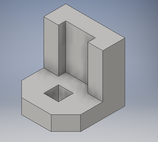
After the drawings are complete, then begins the use of the inventor app. Six widgets in total were created on inventor. The first step is drawing the image on the computer with the line tool in its 2D form. Next, comes the dimension tool which is used to give the lines the exact measurements that are needed. Then, the extrude tool is used to make the figure go from 2D to 3D on the computer, some additional extrusions may be required to remove tiny parts that are not needed. Finally, you have your widgets complete on the Inventor app.
|
|
|

|
|
Now that the Process of creating the widgets on inventor is finished, My next step was to put my widget on the maker bot app.
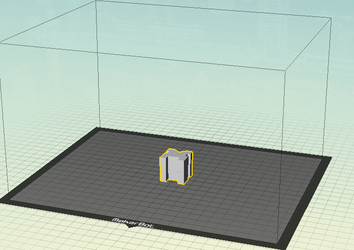
In order to put my widget on to the makerbot app I had to export my inventor project into my downloads, then I added the file onto the makerbot platform. Makerbot prepares the widget to be 3D printed, and also allows me to change the widget size and the way it is printed.
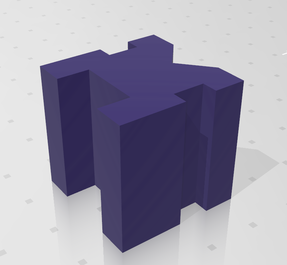
After I have finished preparing my widget, I now finalize the widget on makerbot and I am shown how it will print, and what it will look like. I then save the final project on to my flash drive and head to the 3D printer.
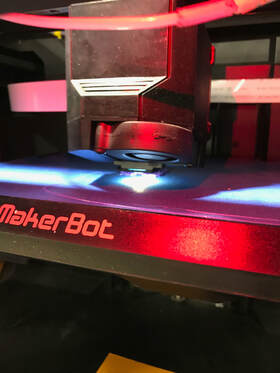
Now I plug the flash drive into the printer, choose what color I want, select the makerbot file and print, and the widget begins to be printed in its 3D form.
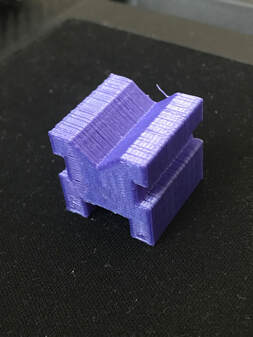
I now have successfully made a 3D object.
What I learned within doing this project is how to 3D print a widget. I also learned that 3D printing is not that difficult to do, however I was only printing something small, therefore i didn't take very long. A final piece of info that I learned was that although this 3D printing was not very complicated, there is a lot of complex components that go into a 3D printer.
