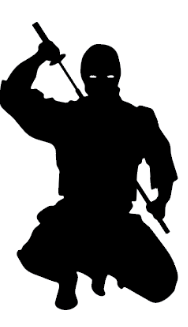
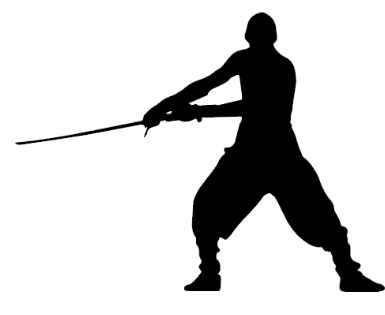
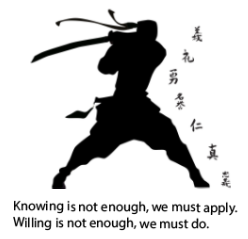
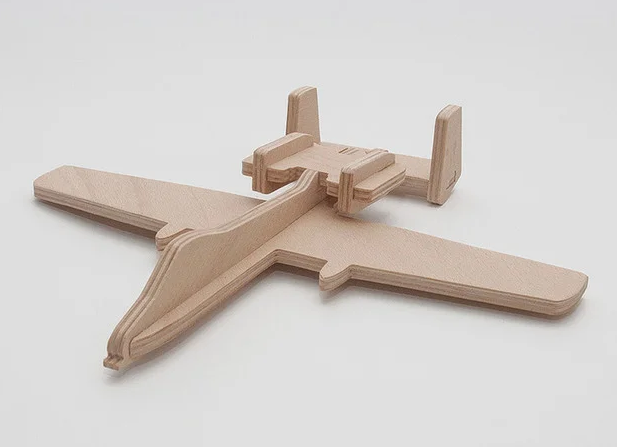
My third and final rotation project for Idea is the laser project. For this project we are instructed to create three separate items using the laser. The first item we created was the notebook, which is made with a design that we create on Illustrator. The second item is to engrave a water bottle we are given with a created design on Illustrator as well. The third and last item is to create a three dimensional object on Illustrator using something found on thing-averse. The four pictures below are images I found on the internet and on thing-averse that I will be using for my projects.
|
|
|
|
The first item that I worked on was the notebook. To begin, I open Illustrator and create my .0001 stroke, 4.25 by 5.5 inch red line for the notebook and insert my pictures into the two rectangles. I then add some shapes to be cut out and put my name on the notebook to be engraved along with outlining it.
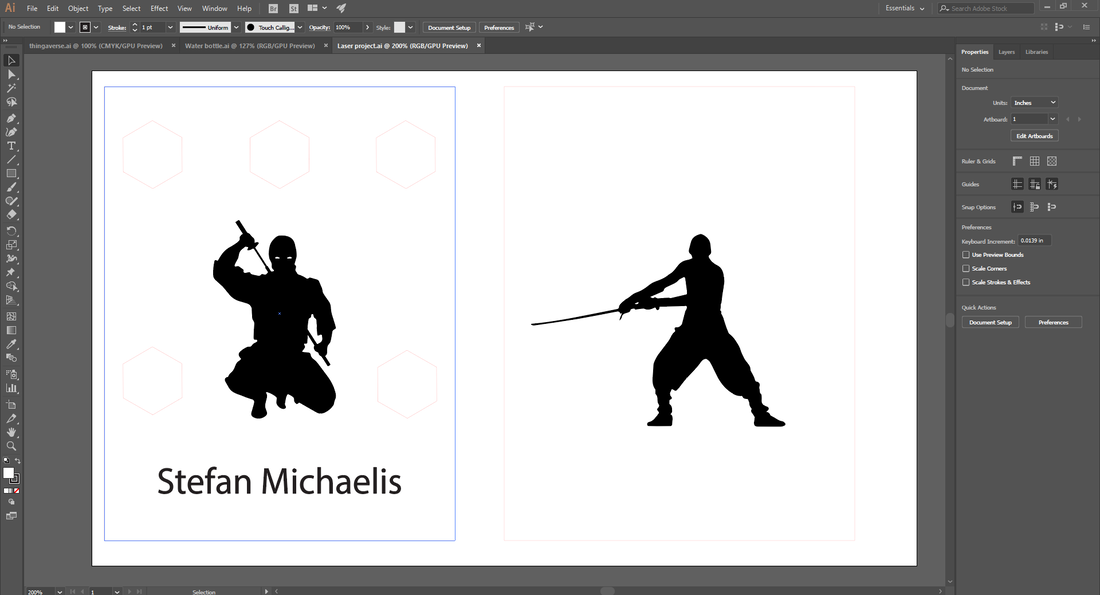
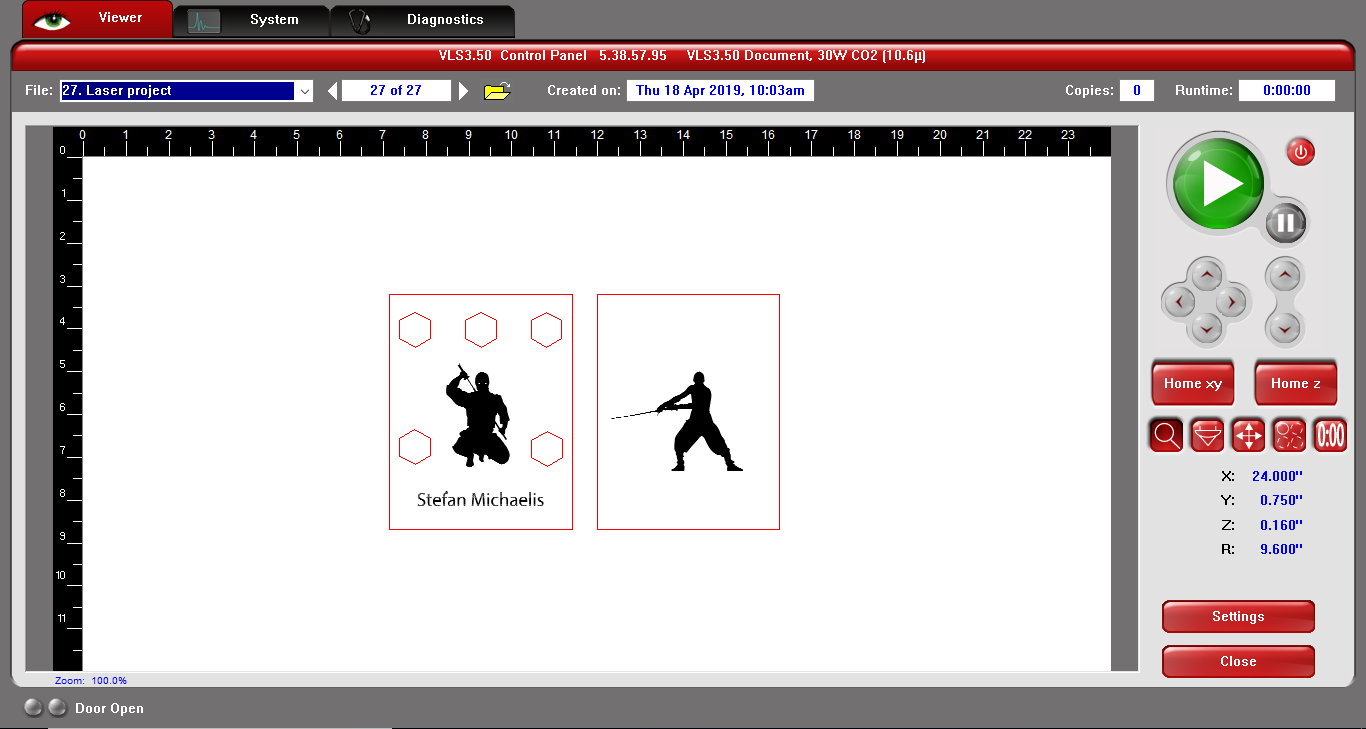
I save the document to my flash drive and plug it into the laser to set the proper settings for the item, selecting things such at mat board and applying the proper thickness to get my ucp setup correct.
|
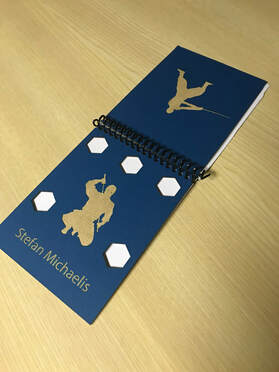
I then turn on the laser and click the green play button to begin the laser engraving and cutting. Once the mat board is done cutting I cut up piece of paper until I have 20 pages, then I hole punch the mat board and the paper, then bind it together and end up with my note book.
|
|
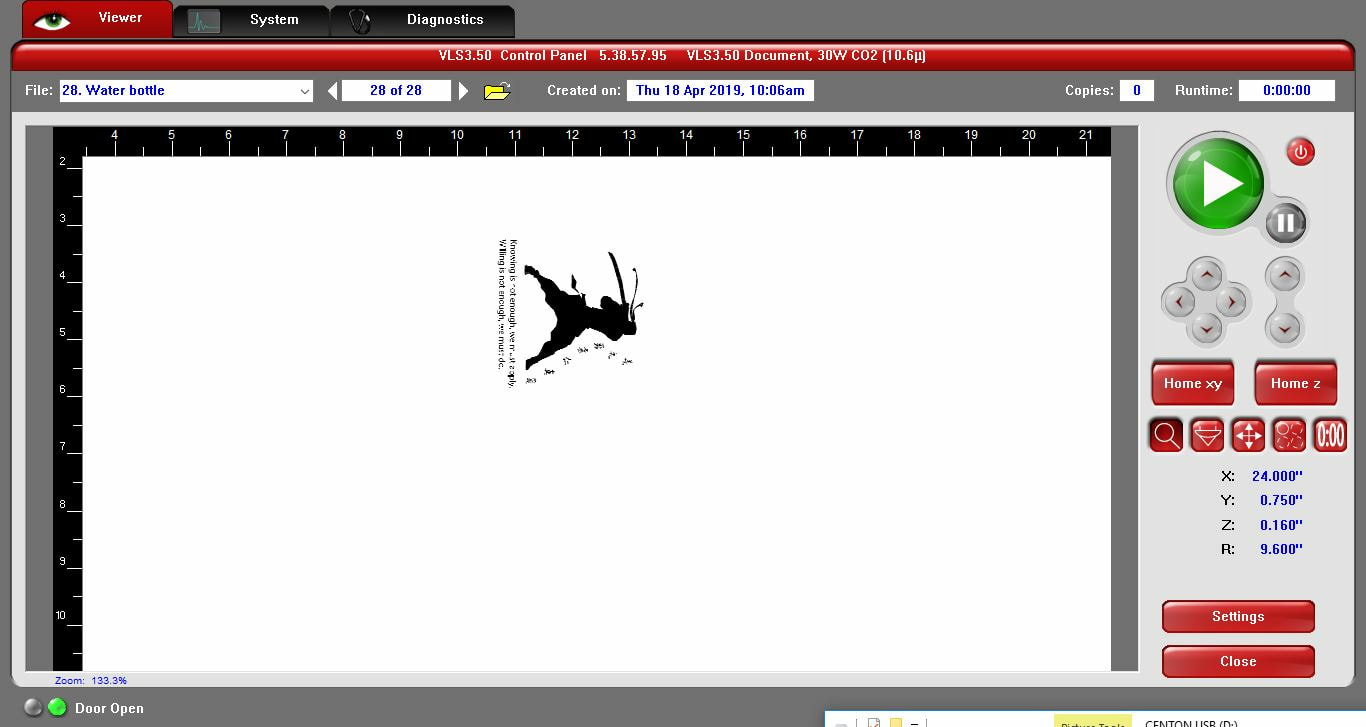
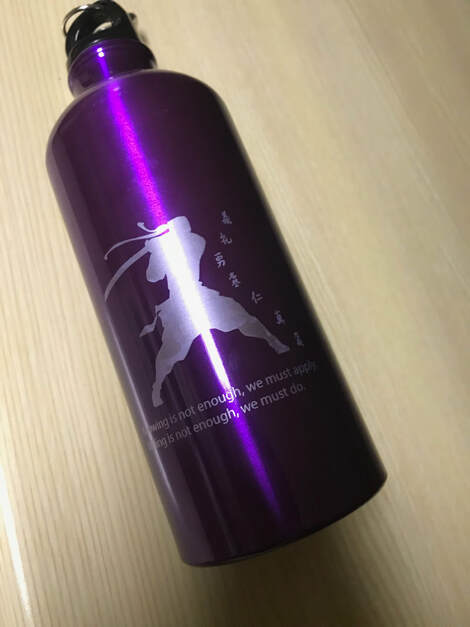
I now start my second item which is the water bottle. I paste the image off the internet onto illustrator and add some outlined text to the image. Then I rotate the image and have my digital document complete.

I set the document up in ucp again like the previous item, except I engrave using the rotary jig, therefore I must change the settings to rotary and adjust the laser to the proper area.
|
I then click play and begin the engraving, and end up with my second completed project.
|
|
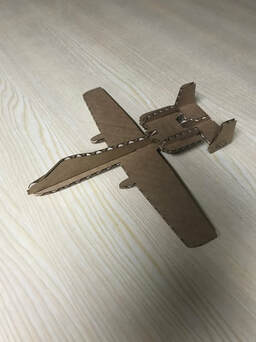
I now search around on thing-averse for my final item for the rotation, when doing so I find a plane that I copy and open using Illustrator. Once open I change the lines to the color red and to .0001 stroke so they can be cut out.
The only thing that has to be done for the lasering of this item is to change the direction so it doesn't lite on fire.

|
I then begin the laser and have my final project complete.
|
|
|
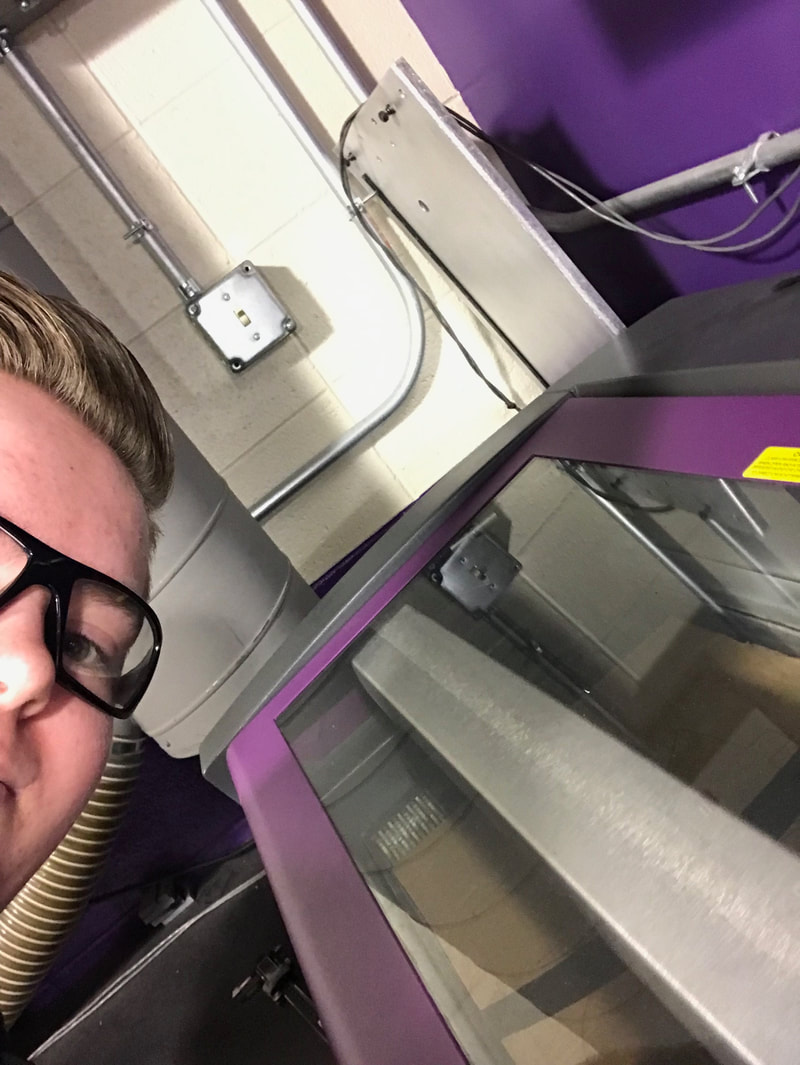
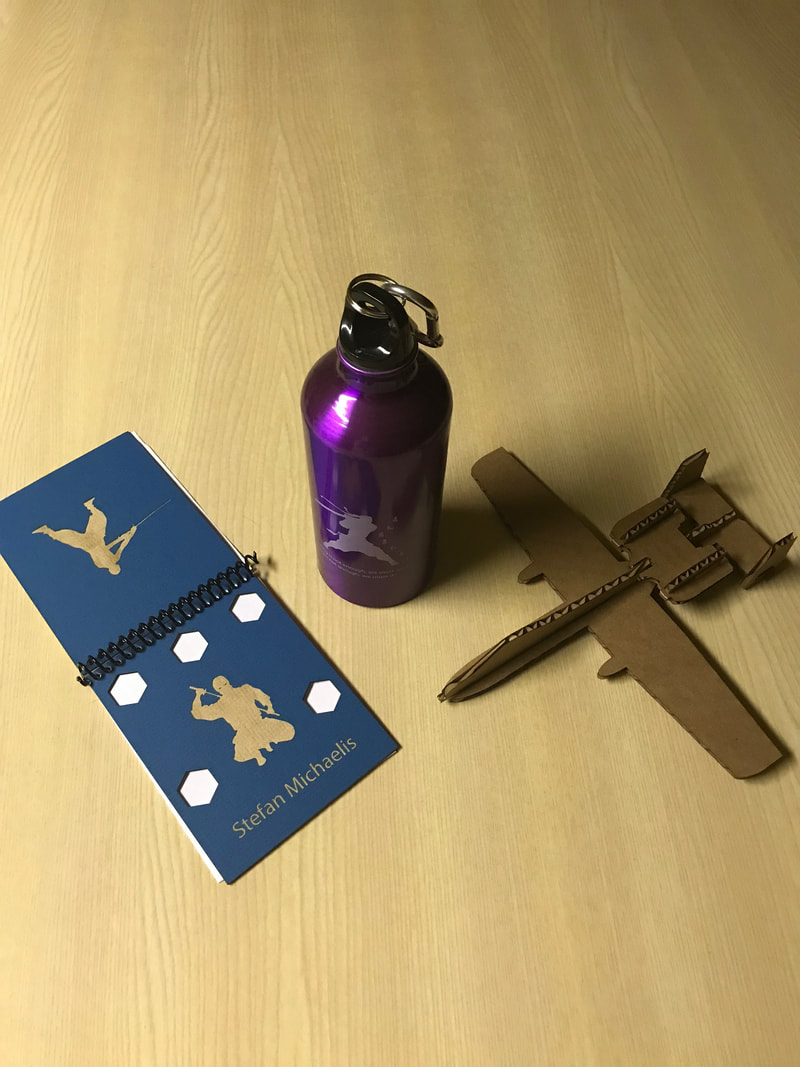
I was able to successfully create all three of these items using the laser, the picture of me using the laser along with my three items is shown to the right.
|
|
|
Something that I learned during the laser rotation was that the laser is able to do a lot more than I thought. One of those things is the rotary jig, I was unaware that the laser is able to engrave into a circular object, and I had also learned that the settings will need to be switched when lasering something that is flammable, such as the cardboard that I used for the thing averse item. Overall I enjoyed the laser unit, the only part I did not enjoy was that we had multiple projects to do, but that didn't stop me from learning something new.
